
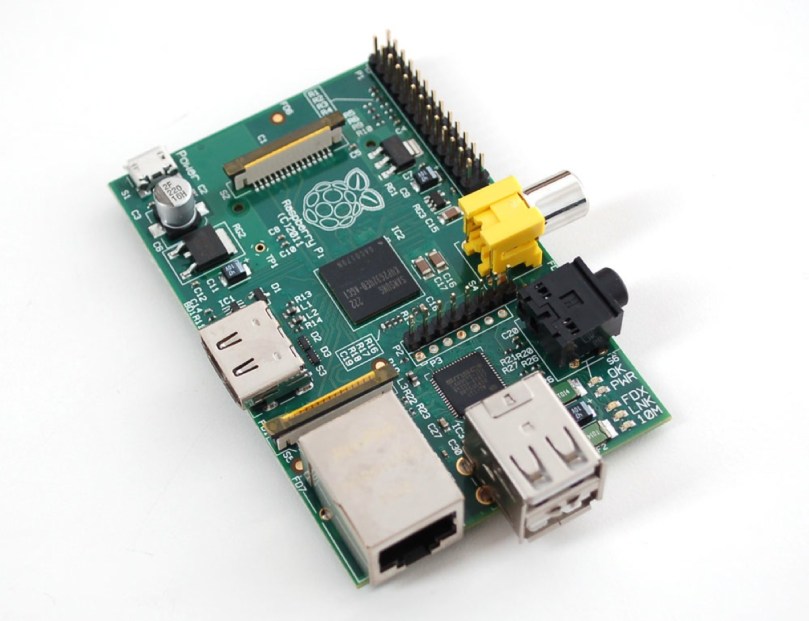
And the day to revive my good old RaspberryPi Version 1 Model B has come.
As it always happens, I end up finding myself chasing tails trying to set it up without having to plug and keyboard, display or ethernet to it. I just expect that it can magically plug into my local WiFi and start the ssh server so I can remotely login.
So this time around, and as a future note to self, here’s how I got it to work with all the little quirks and weirdnesses that ended up wasting about 1hour of my life until it was up and running:
1. Download the Raspbian OS image.
This can easily be downloaded from the Raspbian website here.
At the time of this post, I ended up downloading Raspbian Stretch. Initially I went for the Lite version and in the end I used the Desktop version in the hope I wouldn’t have to ‘apt-get install‘ as much stuff.
Not a very scientific measurement, but the Desktop version seemed to boot up and connect to the WiFi a lot quicker than the Lite version. I didn’t have a monitor plugged so I honestly have no idea what was going on.
2. Flash the image onto your SD/MicroSD card.
For this you can use the Etcher.io app. It’s a very clean cross-platform application to flash images onto SD card. I was honestly very very happy to see someone finally took the time to implement a cross platform flasher. The days of ‘dd‘ seem to be over. 🙂
3. Configure the /boot partition.
Whether you are on a Windows or on a Mac, once you’ve flashed the SD card your computer should be able to mount a partition called ‘boot‘.
3.1. To tell Raspbian to start the ssh server once it boots, you will need to create an empty file called ‘ssh’ inside the ‘boot’ partition.
3.2 In order to give Raspbian the WiFi credentials and SSID you want it to connect to you will need to create a file called ‘wpa_supplicant.conf’ in the same ‘boot’ partition. Here’s what you should write inside this file. Please make sure to update $SSID and $PASSWORD with the name and password of your WiFi:
ctrl_interface=DIR=/var/run/wpa_supplicant GROUP=netdev
update_config=1

network={
  ssid="$SSID"
  psk="$PASSWORD"
  key_mgmt=WPA-PSK
}
4. Boot your RaspberryPi.
Unmount the SD card from your computer and insert it into your RaspberryPi.
The RaspberryPi Version 1 Model B I own does not have onboard WiFi so I purchased a WiFi USB dongle. Make sure that is connected as well before you turn on the RaspberryPi.
And finally, power on your RaspberryPi. This is the step where you will need to be very patient. When I booted the Lite image, it took minutes (>10min) until it finally connected to the WiFi and was available to be ssh’ed into.
5. When is it ready to be used?
I usually just leave a ping command running in a tight loop in my terminal and wait until the RaspberryPi starts returning valid pings. Here’s the bash command I use:
$ ping raspberrypi | while read pong; do echo "$(date): $pong"; done
And voilá, you should be good to go. Now you just need to run the following command type ‘raspberry’ as the password:
$ ssh pi@raspberrypi
6. So how did I waste 1h trying to set this up?
Well, the RaspberryPi can be quite unforgiving and gives you basically no feedback.
Once you turn it on, the red LED for Power stays fixed and the SD card led flickers around a bit but then switches off… and that’s it… No feedback whether an error happened, whether it’s stuck waiting for input, whether it’s absolutely fine, just nothing…
In my first few attempts to boot it and connect it to WiFi I waited about 5min on each attempt to see it connect and when no new MAC address was registering with the router I just assumed something went wrong, read a little more on the Internet about potentially problems and retry again with a different tweak.
Eventually, I saw that it worked because I mostly gave up and went to bed. And after 10min+ the damn thing finally lit up the WiFi LED in the USB dongle and it managed to connect. So basically, coincidence. I was already planning to plug it via ethernet the next day, or, if all failed, just plug the damn HDMI+Keyboard and connect to it directly.
For some reason the Raspbian Desktop image boots up and turns WiFi a lot more quickly (a couple of minutes), so I will now on stick to that.
7. Useful links and documentation.
Here are a couple of links that helped me out understanding a little more what was going on. I also went through a couple of reddit threads but at this point I stand no chance in getting those links back.
 This is a post for the unlikely event that you find yourself owning an old ‘Jawbone Jambox Mini‘ **and** you want to change the voice pack back to original/default, after you spent a couple of years using the Japanese one – a voice pack you don’t really understand but thought it would be entertaining to listen to a new voice when you turn on the speaker.